


Installing a kitchen

Contents |
[edit] The 3 essential preparation steps to fitting a kitchen
Fitting a kitchen requires a step-by-step plan that encourages continuity and an efficient installation project.
[edit] Gathering required tools and equipment
You should ideally possess a number of DIY skills to progress with your kitchen installation and have enough experience to class yourself as a competent DIY operative. You or those carrying out the project should have electrical, plumbing and carpentry experience.
By covering electrical and plumbing works yourself, you could save a lot of money. However, it’s important to realise that a kitchen installation is a major project that won’t be completed in 24 hours. You will certainly be requiring a number of essential tools. Here’s what you need to equip yourself with:
- An electrician screwdriver
- Masonry drill bits
- Battery drill
- Claw hammer
- Lump hammer
- Bolster chisel
- Spirit level
- Pliers
- Jigsaw
- Sealant
- Markers
- Saw
- Side cutters
- Pipe detector
- Power detector
You should also remember to use essential safety equipment such as goggles, gloves and face masks and protection devices for when you are using high voltage power tools.
You should always prioritise safety from the start, so do a thorough check of the space you are working in for hidden live cables and water or gas pipes using a power or pipe detector, especially when preparing to drill any holes.
[edit] Planning the kitchen layout
When planning the layout of your kitchen you need to take the space available to you into consideration. This process should take up plenty of your time as accurate measurements are the key to avoiding problems.
Sinks are almost always located beneath a window, so take note of where the windows are in your kitchen space. You also need to consider that sinks shouldn’t be positioned near or on a joint and the same goes for cooking hobs. You should have washing machines and dishwashers close to a sink so that the amount of plumbing required is reduced.
Hobs will need extra space on either side of them to accommodate larger pans and their handles. Any extraction units should be close to an outside wall, while gas appliances need enough space to encourage gas flow and should not be cramped in tight spaces. When it comes to electrical services, make sure sockets and switches are away from cookers and hobs.
A kitchen layout should be practical and user-friendly, with wall units suitably positioned and base units situated beneath them all of the same width so that handles and doors line up.
[edit] Getting started
With everything organised, the layout planned and your units ready for unpacking, it’s time to do some measurements. Start by measuring 850mm from the highest point after you have checked the level of the floor. Use a spirit level to draw a line across the wall to use as a guide when installing your base units. Measure up from the 850mm mark to the base of your wall units, which is entirely down to you and the space available.
Draw another line from the mark you make using a spirit level. Draw another line up from the second mark you made from a measurement of around 720mm. The measurements suggested are all examples of kitchen wall and base units, so make sure you check the measurements of the units you have purchased prior to measuring the exact measurements provided here.
Assembling the units will require plenty of space, so relocate to somewhere such as a garage which offers you enough space to work efficiently. Some flat-packs are quite heavy, so make sure you get the necessary help to prevent injury. You should also put down a layer for cardboard or sheet wood to prevent your units from scratching the floor.
When putting your units together, it is recommended that you use a battery drill and screwdriver. However, make sure that you only tighten the screws with the screwdriver and with the drill, as this is regarded as being a much safer method. The order in which you instal each unit depends on the shape of your kitchen, with an L-shaped kitchen requiring the first unit to be fitted in the corner for instance.
Good quality fixings are required to ensure the safety of your kitchen units and cavity fixings are best suited to plasterboard as the brackets aren’t using a wall stud. Additional brackets are a good idea for plasterboard to quell any anxieties and they can be painted over to prevent them from being too unsightly.
After following these three tips, you should now be in a position to work your way towards a high quality kitchen installation. Remember to equip yourself with all the necessary tools and to maintain essential health and safety throughout the job.
Note: Building regulations approval is required for some works, such as works to drainage or electrical installations. Gas installations must only be carried out by a Gas Safe registered installer. Other regulations may apply depending on the nature of the project, and unless you are confident of your ability it can be sensible to appoint professional installers.
[edit] Related articles on Designing Buildings Wiki
Featured articles and news
Homes England creates largest housing-led site in the North

Successful, 34 hectare land acquisition with the residential allocation now completed.
Scottish apprenticeship training proposals
General support although better accountability and transparency is sought.
The history of building regulations

A story of belated action in response to crisis.
Moisture, fire safety and emerging trends in living walls

How wet is your wall?

Current policy explained and newly published consultation by the UK and Welsh Governments.

British architecture 1919–39. Book review.
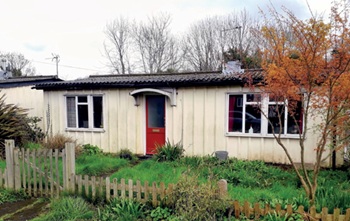
Conservation of listed prefabs in Moseley.
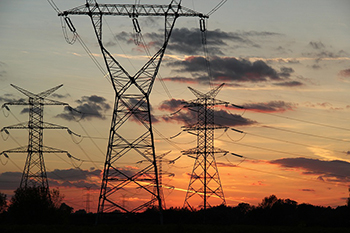
Energy industry calls for urgent reform.

Heritage staff wellbeing at work survey.

A five minute introduction.
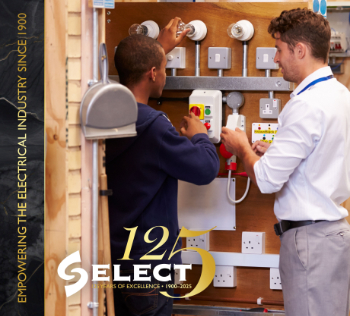
50th Golden anniversary ECA Edmundson apprentice award
![]()
Showcasing the very best electrotechnical and engineering services for half a century.
Welsh government consults on HRBs and reg changes
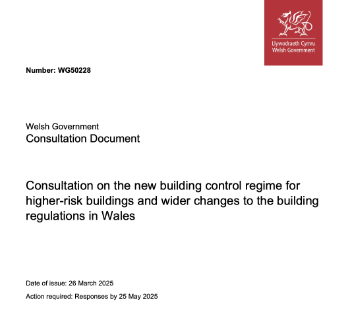
Seeking feedback on a new regulatory regime and a broad range of issues.
CIOB Client Guide (2nd edition) March 2025

Free download covering statutory dutyholder roles under the Building Safety Act and much more.

Minister quizzed, as responsibility transfers to MHCLG and BSR publishes new building control guidance.
UK environmental regulations reform 2025

Amid wider new approaches to ensure regulators and regulation support growth.
BSRIA Statutory Compliance Inspection Checklist
BG80/2025 now significantly updated to include requirements related to important changes in legislation.